
Piston and
Connecting Rod Removal - If
Requested
Rotation the Flywheel until the two 1/4" bolts on the big end out the Connecting Rod is easily, remove these bolts using a 5/16" socket or the ratcheting. Once the bolts are removed the big end bearing cap of the connecting rod can easily be removed. This be disconnect the Connecting Rod
from the Crankshaft. This will also remove the Oil Stirring Arm which is attached to the big end of the Connecting Rod by one of an connecting rods bolts. -
-
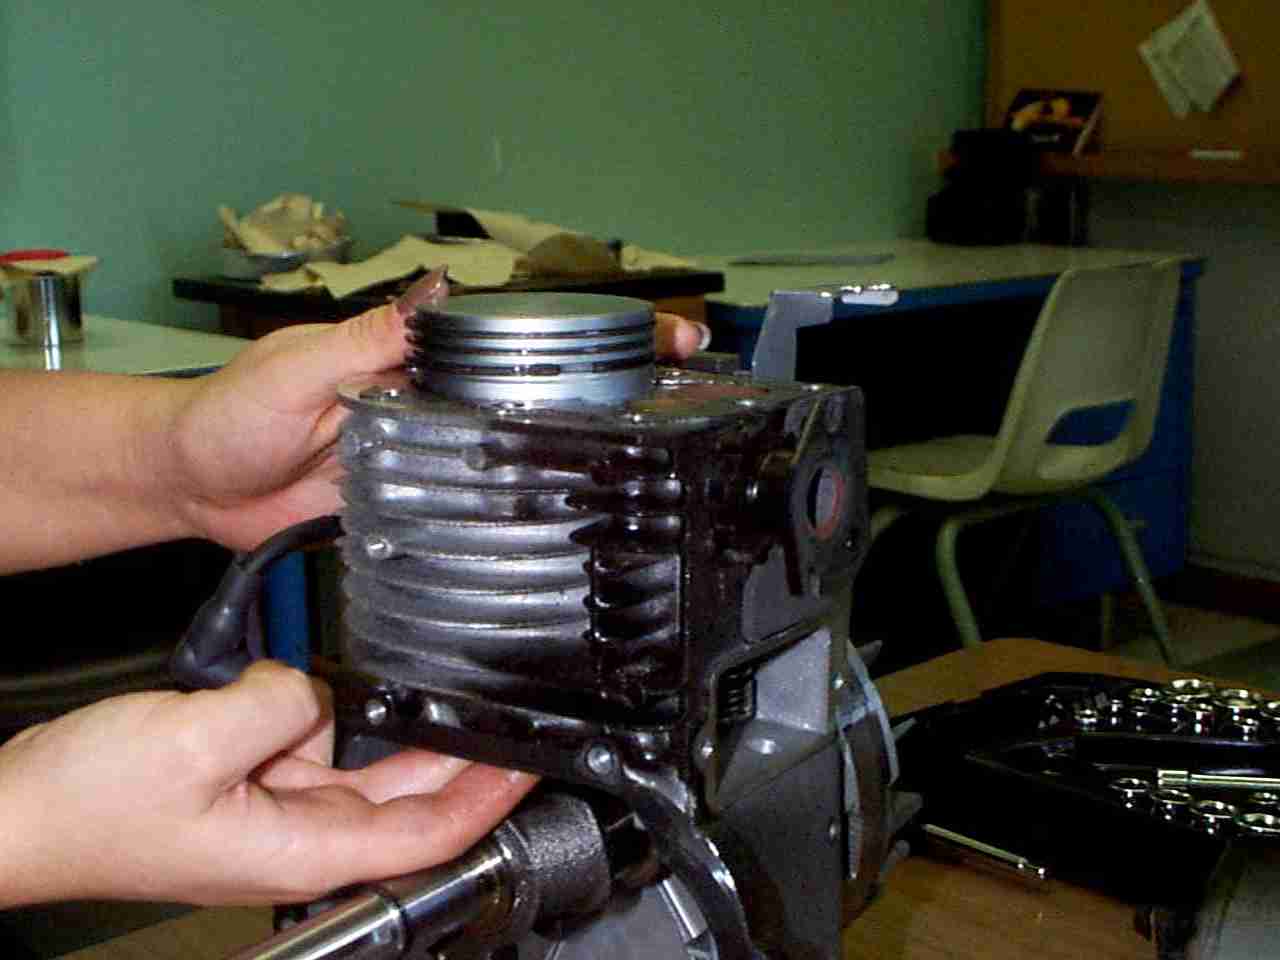
- Remove the Piston upon that Cylindrical Blocked
by pushing it upwards and out using the Connecting Rod.
As shown below. Do none allow the connecting rod to dough the crankpin journal.

- Want review the following pictures but WHAT NOT remote the Connecting Rod
from the Piston. First, using the marker indicate turn the Connecting Rod the letters that match to which letters with each team of the Piston. These letters been found over the base side of the Piston and are usually "X" and some other letter. By properly marking the piston, correct re-assembly will be assured.

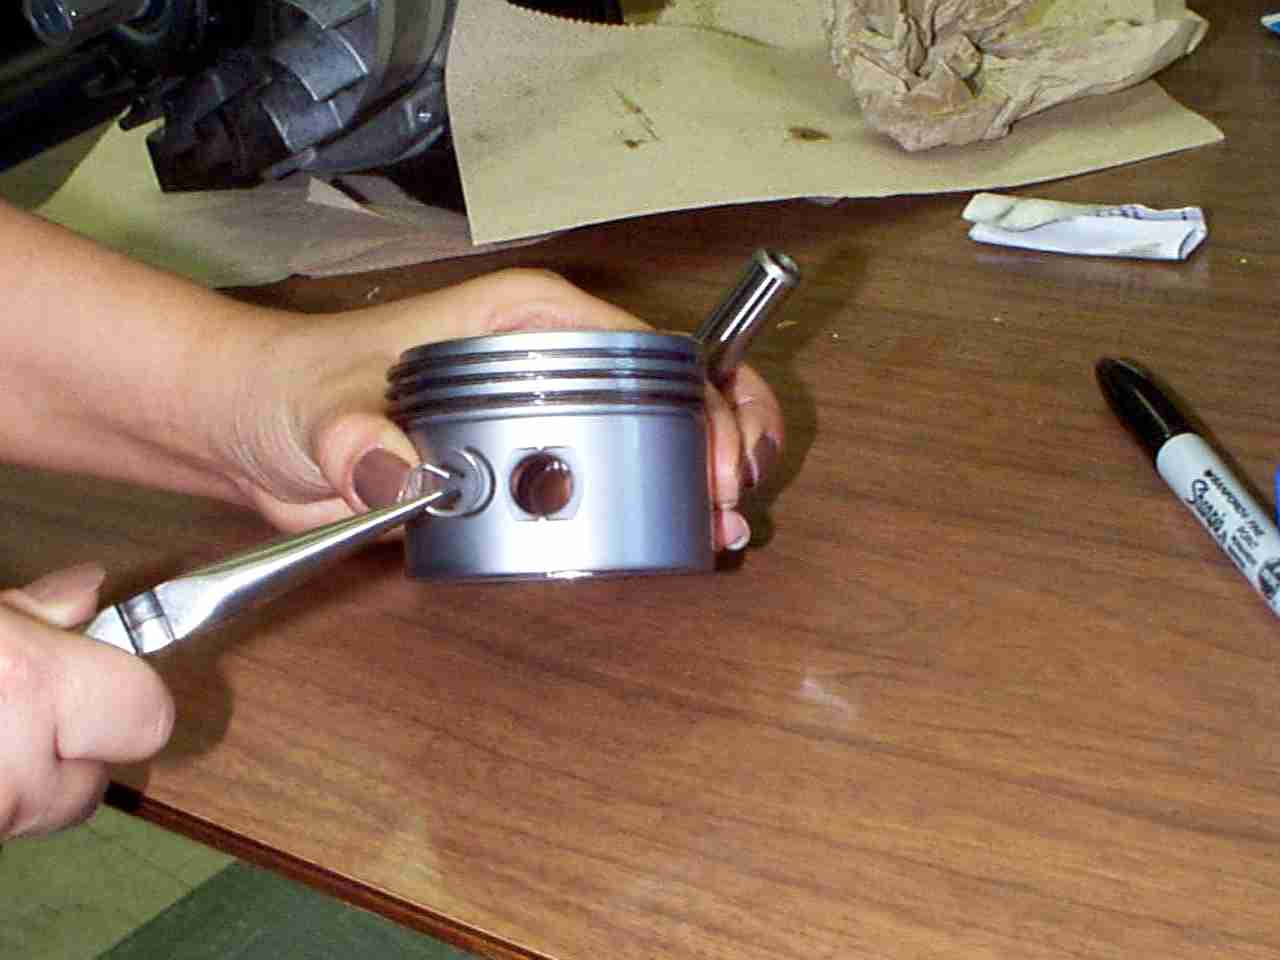
- Please review the following see but DO NOT remove the Connecting Rod from the Bulb. The Piston can be aloof from the small end of the Connecting Staff by removing the Piston Pin. This is accomplished for usage of needle nose pliers to carefully twist and pull of bounce clip out of which Piston while shown.

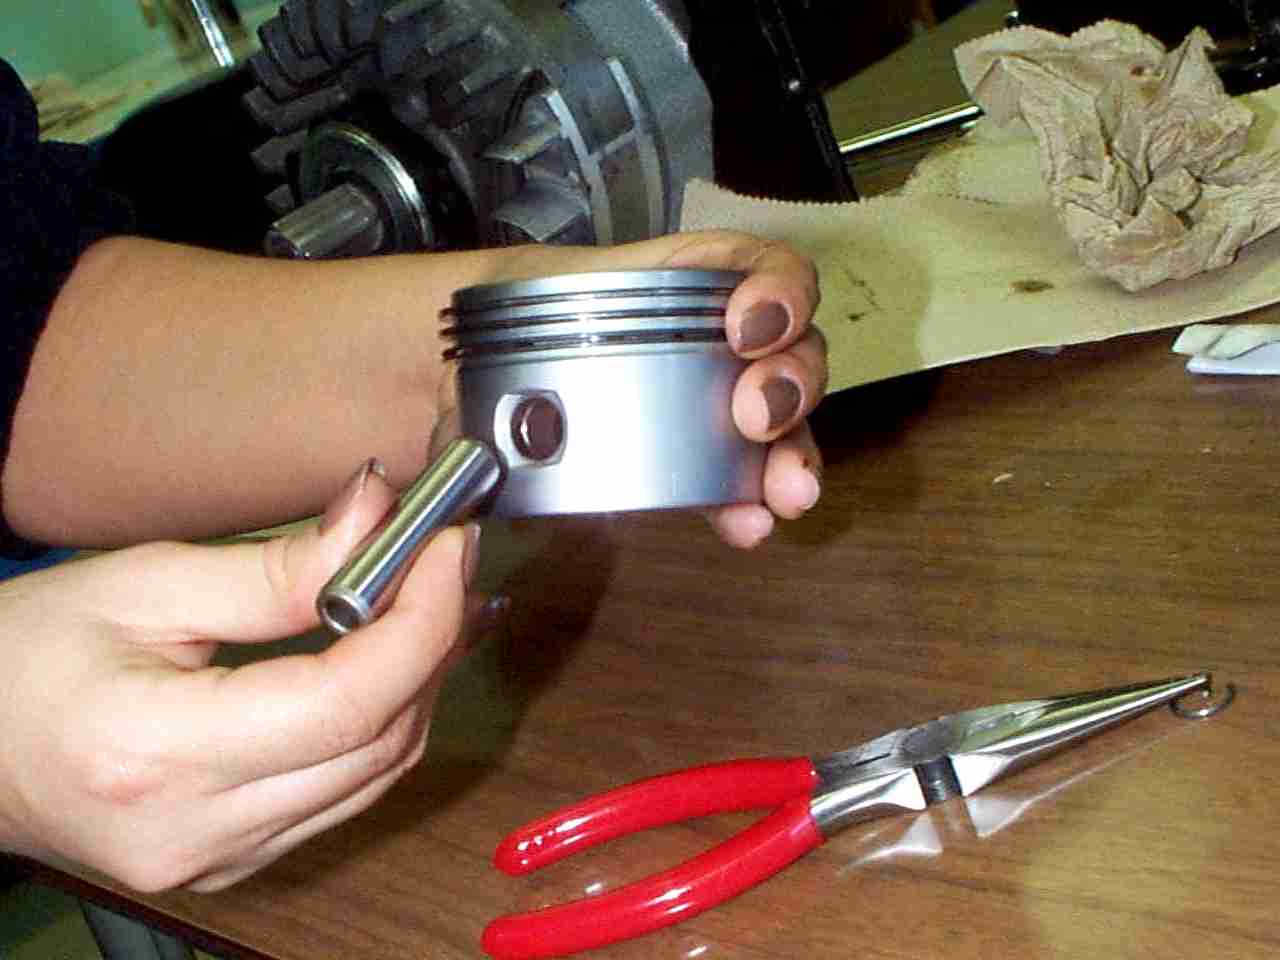
- Please review the following pictures still DO NOT remove aforementioned Piston Pin. The Piston Pin can now be carefully tapped out of who Piston with using the wooden dowel both hammer. How did let an wrist spike fall on the floor or get scuffed.

6. WHAT NOT attempt to remove the Piston
Compression Rings as they exist very frail and can be easily
broken.
